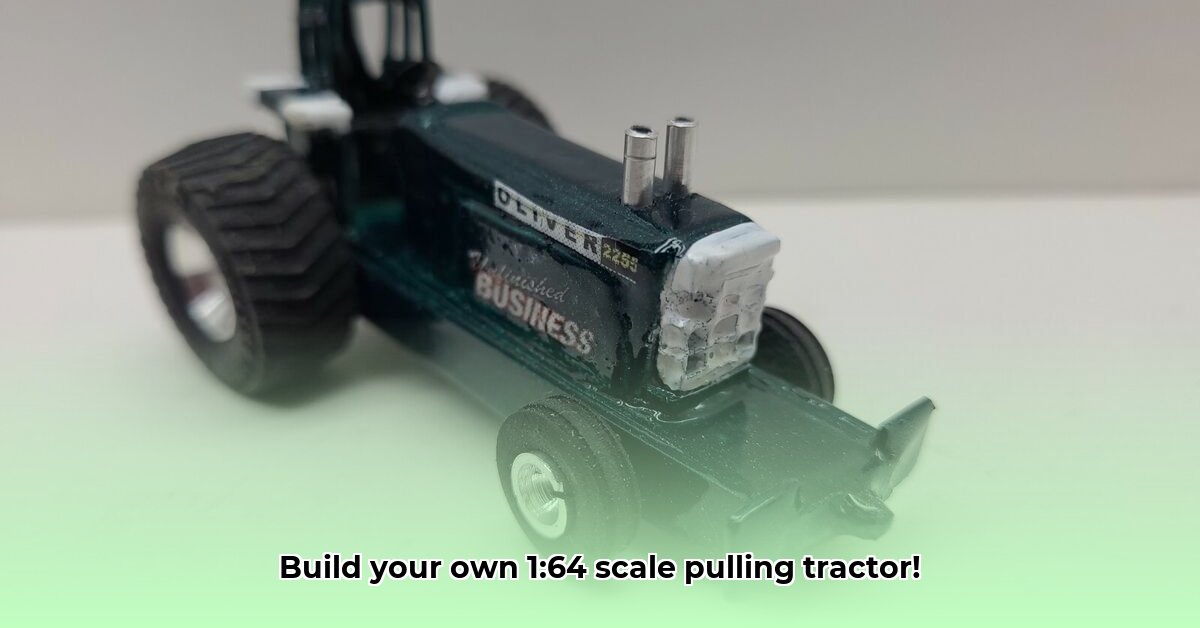
Ready to build your own miniature farm champion? 1:64 scale pulling tractor kits offer a fantastic entry point into the rewarding world of scale modeling. This guide will walk you through choosing the perfect kit, gathering essential tools, assembling your tractor, and customizing it to reflect your unique style. Whether you're a seasoned model builder or a complete beginner, you'll find this guide both informative and fun! For extra customization ideas, check out these wheelie bar options.
Choosing Your Kit: Finding Your Tiny Tractor
The market for 1:64 pulling tractor kits is surprisingly diverse. With so many options available, selecting the right kit is crucial for a successful and enjoyable build. Let's break down the key considerations:
- Detail Level: Kits range from pre-painted, almost ready-to-display options to completely unpainted kits—offering a blank canvas for maximum customization. Which best fits your skill level and desired aesthetic?
- Brand Reputation: Certain manufacturers are known for their high-quality parts and accurate tractor representations. Thorough online research, checking reviews before purchasing, is highly recommended to ensure you get a reliable and enjoyable kit.
- Price & Complexity: Kit prices vary widely depending on intricacy and included features. Budget-friendly starter kits exist for beginners, while advanced kits offer significant detail and challenge for experienced modelers.
- Kit Availability: Consider the availability of replacement parts. If a component breaks during assembly, you'll want to be able to easily replace it, ensuring a completed model.
| Feature | Considerations |
|---|---|
| Detail Level | Pre-painted for ease or unpainted for maximum creative control. |
| Brand | Research reputable brands known for quality parts and accurate designs. |
| Price | Balance your budget with desired detail and complexity. |
| Kit Complexity | Select a kit suitable for your experience level. Start simple if you are unsure. |
| Availability | Consider the availability of replacement parts in case of damage or loss. |
Gathering Your Tools: Equipping Your Tiny Workshop
Precision is key when working with 1:64 scale models. Fortunately, you likely already own many of the needed tools. Here's a comprehensive checklist:
- Tweezers: Essential for handling minute parts. These are your best friends for this project!
- Hobby Knife/X-ACTO Blade: Necessary for carefully cutting parts from the plastic sprue (the plastic frame holding the parts). A sharp blade ensures clean cuts, minimizing the risk of damaging parts.
- Modeling Glue: Select a strong, quick-drying adhesive designed for plastic models. Avoid super glue; it can easily cause a mess and damage the model.
- Small Paintbrushes (Optional): If your kit is unpainted, fine detail brushes are crucial for painting.
- Acrylic Paints (Optional): High-quality acrylic paints are ideal for small-scale models; they dry quickly and are easy to use.
- Clear Coat (Optional): Protects your finished model, adds a glossy finish, and increases its longevity. Consider this to preserve your hard work.
These items are readily available at hobby stores or online retailers. Investing in a quality set ensures you have the right tools for the job, and for future model projects.
Step-by-Step Assembly: Bringing Your Tractor to Life
The following steps provide a general guide, but always refer to your kit's specific instructions.
- Careful Part Removal: Gently remove each part from the sprue using your hobby knife and tweezers. Patience is crucial here!
- Deburring: Use a soft brush or file to clean away any excess plastic or mold release agent. This ensures proper adhesion and prevents part warping.
- Dry Fit: Before gluing, assemble all parts without adhesive to check for fit and alignment. This step prevents potential errors later in the process.
- Precise Gluing: Apply glue sparingly to connection points. Too much glue can warp the plastic. Let it dry completely before moving on.
- Final Assembly: Once the glue is dry, carefully complete the final assembly of the tractor. Take as much time as needed to ensure everything fits perfectly.
Following these steps will make the assembly go smoothly minimizing errors. Don't rush things!
Customization: Your Tractor, Your Style
Once assembled, personalize your tractor to reflect your individual style.
- Weathering: Techniques like dry brushing and washes can create a realistic, aged look.
- Decals: Add custom decals for a unique touch. Many kits include decals, but you can find many more online.
- Part Swapping: Source parts from other kits or custom-made elements to personalize your tractor further. The possibilities are endless!
Remember, this is your tractor. Don't be afraid to experiment and inject your personality into the model.
Displaying Your Masterpiece: Showcasing Your Hard Work
Your completed 1:64 pulling tractor deserves a proper display! Consider these options:
- Display Case: A clear display case protects your model from dust and damage.
- Diorama: Create a miniature farm scene to add context and enhance the overall presentation of your tractor.
No matter your chosen method, display your meticulously crafted tractor with pride!
Ready to build your dream 1:64 pulling tractor? The journey awaits! Happy building!